Sweet Little Skirts for Me and My Doll, a free tutorial from Avery Lane patterns

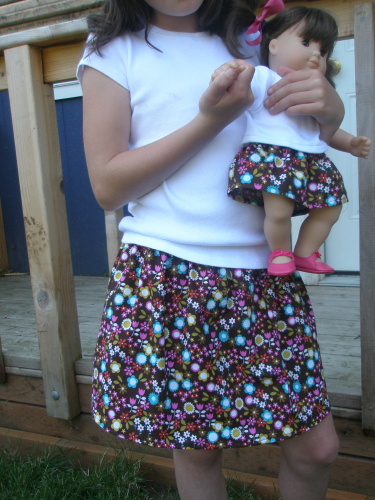
A sweet little skirt pattern tutorial from Avery Lane, make one for a little girl in your life and another for her dolly. These take very little time and are super cute. Great for quick gift giving!
●▬▬▬▬▬●✿ Sweet Little Skirt ✿●▬▬▬▬▬●
Here’s what you’ll need:
For an 18 inch doll:
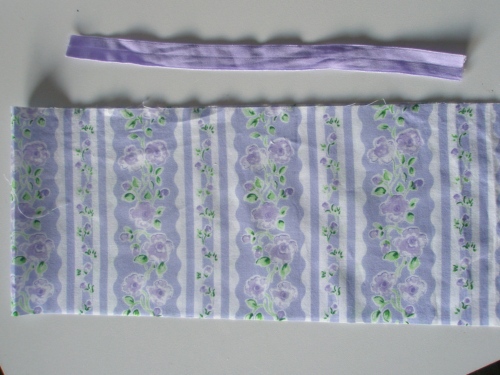
cut a piece of woven fabric 5 ½ inches long by 21 ½ inches wide
1 piece of 3/8 inch fold over elastic 10 ½ inches long
optional: 5 inches of hook and loop fastener (such as Velcro)
15 inch Doll (such as Bitty Twin):
cut a piece of woven fabric 4 1/2 inches long and 21 1/2 inches wide
1 piece of 3/8 inch fold over elastic 11 1/2 inches long
optional: 4 inches of hook and loop fastener
For Little girl sized skirt:
✿ Skirt fabric: Measure from waist to the hem line on the little girl. Be sure to measure the place along her waist where she wears her skirts—for example: my daughter always wears her skirts a little below her belly button, so I would measure around her waist a bit below the belly button. Measure to the desired length and add hem allowance to this measurement. For example a narrow hem only needs ½ inch for the hem allowance, so for my daughter whose finished skirt length is 12 inches and I would cut my fabric 12 ½ inches long. If you like more hem allowance, then you would add more to allow for hemming the skirt.
Cut your fabric the width of the fabric or 42-44 inches wide. So for my daughter I cut my fabric 12 ½ inches long by 42-44 inches wide.
✿Waistband: Measure your little girl’s waist, again where the little girl wears her skirts. Subtract 4 ½ inches from this measurement. For example: my daughter’s measurement is 24 inches, so I would cut my fold over elastic 19 ½ inches. This will fit in such a way that the skirt won’t easily slip down and won’t be too tight or uncomfortable.
For larger sizes, you should add more fabric. For example: a teen or adult sized skirt should begin with double the width of fabric (88 inches), to be able to stretch the fold over elastic and have enough gathers for a pretty skirt.
For doll skirt you can either add hook and loop fastener to back (method 1 for back closure), or sew a pull on skirt (method 2). For child’s skirt, follow instructions below beginning with step one and continue with method 2 directions, for the pull on skirt.
✿ Step One ✿
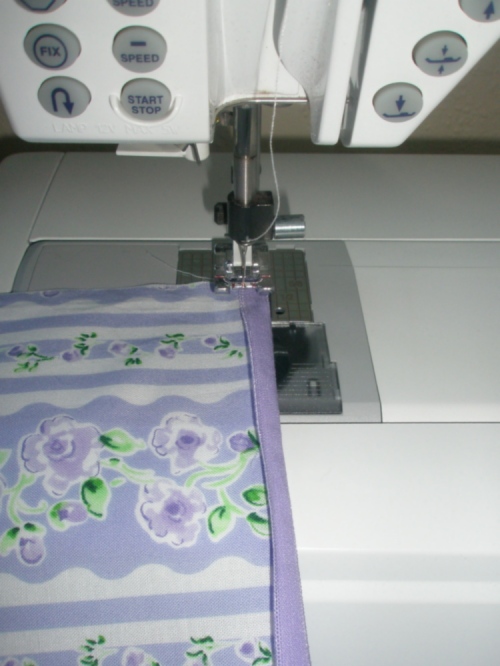
To begin, determine if fold over elastic has a wider side when folded. If so, when you sew the fold over elastic waist band have the more narrow side facing up (stitch directly onto narrow side to ensure the underneath side catches). You should work with the right side of the fabric facing up for best results.
Pin the edge of fold over elastic to one edge of fabric, so that you are attaching the fold over elastic to the long side of the fabric (the shorter sides are the center back and the length of the skirt – that would be 5 1/2 inches for the 18 inch doll skirt). If your fabric is directional, make sure you are attaching the elastic to the upper edge. You will fold the fold over elastic in half and place the fabric in the center of the two sides of the fold over elastic (sandwiched in between the folds of the fold over elastic). Stitch for about ½ to ¾ of an inch, so that there is enough fabric behind the presser foot to hold onto.
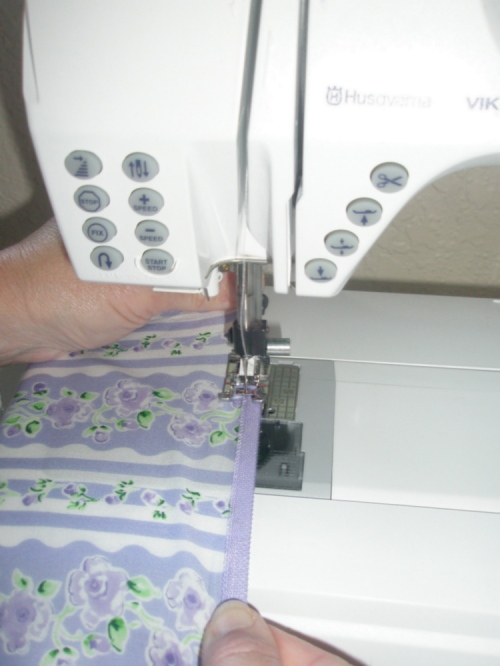
Now you will stretch the fold over elastic as much as you can. Keeping the fabric in between the folds of fold over elastic, hold in place on both sides of the presser foot (shown in photo below), keeping the fold over elastic stretched, and sew the fold over elastic to the upper edge of fabric, as shown. As you sew, make sure the fabric stays inside the two folds of the fold over elastic. Don’t pull the fabric through the machine, allow the feed dogs on the machine to move the fabric as it should. You are just making sure the fold over elastic stays stretched and is fed into the presser foot/sewing machine straight.
![]()
When I try new techniques, I like to practice on scrap fabrics before attempting it on my project fabric. You may try on some small scraps to get a feel for what you will be doing if this is new for you.
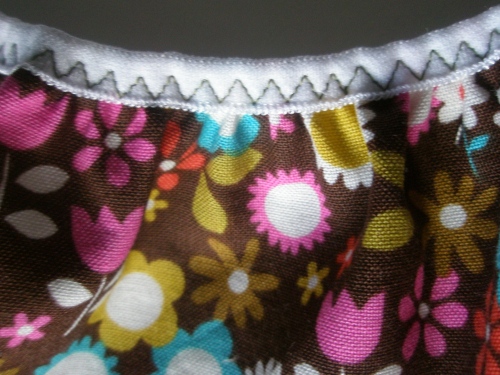
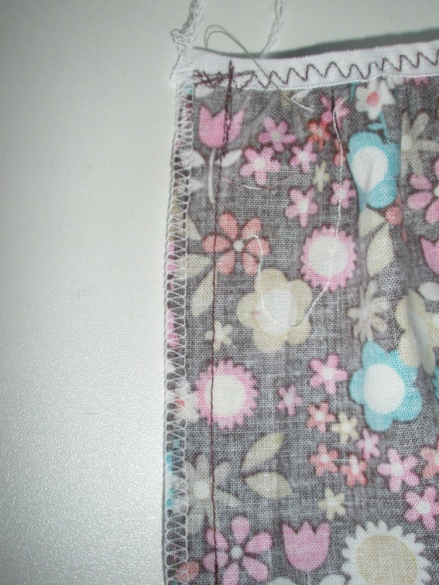
✿You can sew using a straight stitch, broken or multi-step zigzag stitch, or a regular zigzag stitch. Zigzag stitches are easier for most beginners, as it’s easier to make sure to catch the fold over elastic on the bottom this way. I like the look of the broken zigzag stitch 🙂 Here is what the waist band will look like with a broken zigzag stitch:
✿You will need to stop when your hand in the front reaches or nears to the presser foot. Make sure the needle is down in the fabric when you stop. Readjust your grip, tucking the fabric back inside the fold over elastic if necessary, and continue sewing once you have a grip on both the elastic and fabric again.
Continue in this way until you are about 1 inch from the end of the fold over elastic. You will not need to stretch beyond this point, just make sure fabric is still tucked inside the fold over elastic.
Trim off any fabric not sewn into the fold over elastic.

✿Two methods for finishing the skirt from here ✿
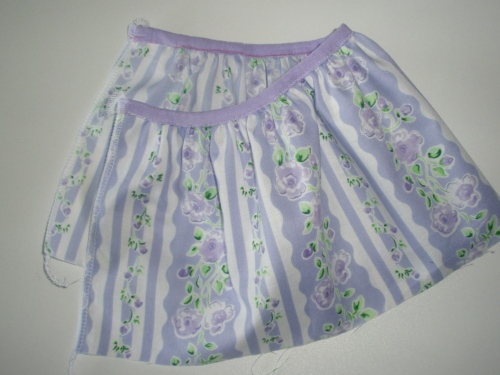
Method one is an open back skirt, using hook and loop closure.
Method two is a pull on skirt design.
●▬▬▬▬▬▬▬▬▬●✿Method One✿●▬▬▬▬▬▬▬▬▬●
Finish center back edges with a serger or zigzag stitch.
✿To Hem: Fold over ¼ inch toward inside of garment (toward wrong side of fabric) and press. Fold over again ¼ inch and press. Use a long, straight stitch to form hem.
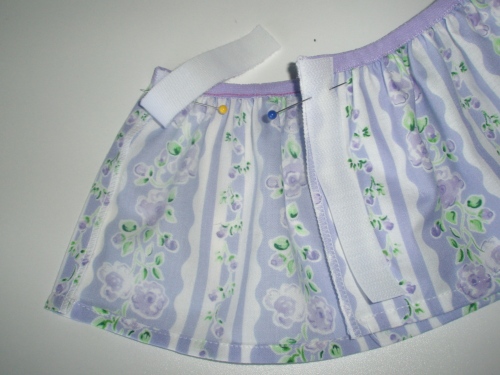
✿Back Closure: Fold over one side of center back and press with hot iron. The other side will remain unfolded. Cut a piece of Velcro the length of the skirt (from top of waistline to hem).
Make sure the scratchy side of hook and loop (hook side) narrower than the soft (loop side). I use ½ inch wide for the soft side, and 3/8 inch for the scratchy side. This way the scratchy side is completely enclosed and the doll hair is less likely to get caught in it during playtime.
✿If you serged the center back edges, then tuck the serged thread chains under the Velcro. This keeps your dress/top looking neatly sewn.
Sew around all four sides of Velcro.
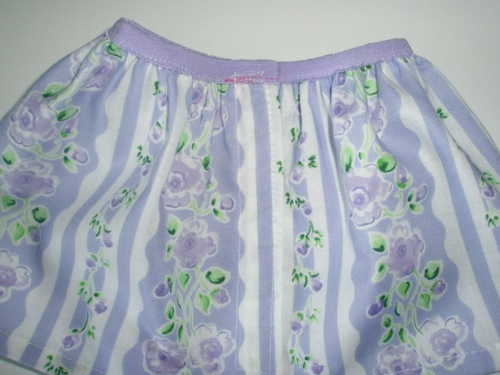

●▬▬▬▬▬▬▬▬▬●✿Method Two ✿●▬▬▬▬▬▬▬▬▬●
With Right sides together, pin center back edges together. Pin in place and sew the center back seam using a ½ inch seam allowance. Finish raw edges using a serger or zigzag stitch. Press seam allowances to one side. (optional: with sewing machine or hand needle, tack the seam allowance in place along just the waistband.
✿To Hem: Fold over ¼ inch toward inside of garment (toward wrong side of fabric) and press. Fold over again ¼ inch and press. Use a long, straight stitch to sew hem.
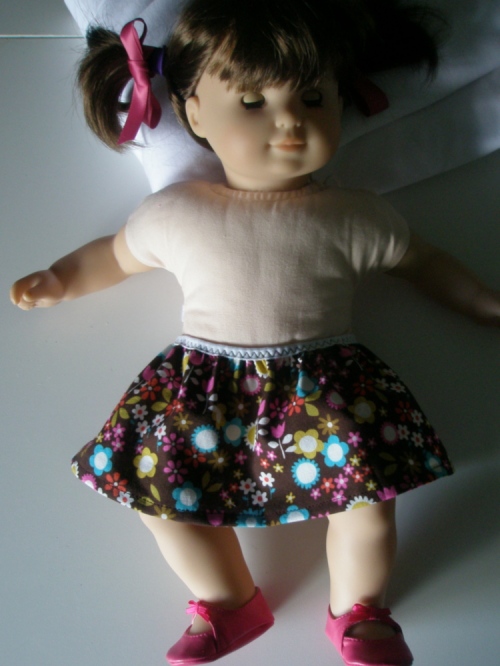
Hope you enjoy sewing this sweet little skirt!
Tiny Tee shown on American Girl Doll –sewing pattern available here 🙂 Bitty Twin doll is wearing the Audrey Tee sewing pattern available here