The Burgundy Coat, finished

The wool coat has been finished.

The bound buttonholes are in and I’m pretty happy with them. Putting all the pieces together, I find that I must line the coat. I really do not like the exposed seams as they look now. I regret not having the foresight to do different seam finished, but oh well. I took some photos of the bound buttonhole process. It takes more time and consideration, but I think with such spectacular fabric, ordinary button holes would not do the coat justice.


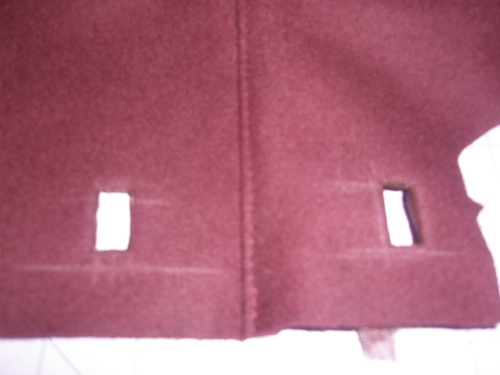
Repeated all these steps for the lining. The lining needs to have windows for the buttonholes to function.


When the lining and front are joined, the buttonholes line up. The windows in the lining are then slip stitched in place to the buttonholes.
Fully lining the coat worked well and here it is in all its glory.


As for a review of the pattern, I would say it is a great coat pattern. I would change the shape of the pockets or tack the top of the pocket lining in place. The boxy shape sags and gets bulky when hands are not holding them in place. Most pockets are more rounded and do not fold and get bulky like these do. I also should mention the fit–though it fits her perfectly right now, I tried to size up for growing room. The photo on this pattern shows the coat not as fitted as mine looks finished. I traced up a size from her measurements and added some ease within the arm and chest. Had I just sewn her size according to her measurements and the pattern measurement/size guide, then the coat would not have fit. The photo of the little girl on the pattern is a bit deceiving.
The most important things–I finished in time for her birthday surprise, and she absolutely loves it! It’s all good 🙂
I have left over fabric, so I think I will try to whip up a hat. Oh, how she loves hats. I have an idea for a hat, but want to test it on some muslin first. Wish me luck!