Tips on Sewing with Twin Needles
Working with a twin needle…here are some sewing tips for sewing with a twin needle (double needle). I love using the twin needle. It can be a quick and very clean looking finish for a project. It’s ideal for hemming knit fabrics or adding a binding to a t-shirt neckline, because it is a stretch stitch, meaning it allows the fabric to stretch without breaking the threads. A necessity if you plan to wear the garment and don’t want a binding to come off, which will happen if the threads break when putting said garment on or taking said garment off.
Did you know you can do gathering with a twin needle? I discovered this by accident one day and now I gather knit ruffles with my twin needle, well sometimes. Mainly when I’m experimenting or in a hurry. Sew on a long stitch length and pull the bobbin thread to gather. It’s faster, but it does pucker and bunch the edge, so I only do it when those things won’t bother me or mess up the project.

Anyway, here are some other tips that I’ve picked up along the way from my days in the locally owned sewing machine shop.
Thread the machine properly.
If not, then you will break needles and that can be frustrating and costly. Those twin needles are not cheap. You need to keep the top threads separated through the tension disk. The treads need to be unwinding in opposite directions–one spool clockwise and the other counterclockwise. See this post for the how-to and more details on threading the machine when sewing with a twin needle.

Use the right twin needle.
Use a stretch twin (blue bar on Schmetz brand) when sewing knit fabrics, and a regular twin needle (red bar on Schmetz brand) for sewing woven fabrics.
The first number is the width between the needles and the 2nd number is the size of the needle. Make sure your machine is a zigzag machine if using a vintage machine.
Stop the tunneling.
Use a wider twin (4,0) with thicker fabrics, and narrower twin (2,0) for thinner fabrics. Not sure which to use? Test on a scrap of the fabric. If you use too wide of a needle, you will get tunneling.
In the above picture, you see how the tunneling began to happen when sewing on a single layer of fabric? The left side did not tunnel, because that part of the project had been lined and therefore thicker.
Tension can also be adjusted if it’s still tunneling. Lower the needle tension on lighter weight fabrics, until it’s no longer tunneling.
Check your feet (and throat).
On your machine, that is. The throat plate and presser foot need to have wide enough openings to accommodate the width of the twin needle. Make sure you use the correct presser foot for using a twin needle, just as you would for sewing with a zigzag stitch. Twin needles go up to 6,0 width, but if your machine does not sew a 6 mm zigzag, then it won’t work on your machine and you could damage the throat plate if its hole is not wide enough for the twin needle to fit through.
Prep the area to be sewn.
Fold and press the fabric to prepare it. You want to try to sew right along the raw edge. Since you will have the right side of the fabric facing up as you sew, accuracy is our friend here. I usually fold and press 1/2 inch, then sew with a 3/8 inch allowance. The amount you fold should be as close to the seam allowance you will be sewing—the allowance line on the throat plate. The closer you get to sewing right on that raw edge, the less likely the hem is to roll and need ironing later.
You can trim off any extra fabric afterward as well. Just be careful not to cut your stitches.
Don’t do the Wave.
You can add a strip of water-soluble stabilizer to the fabric to help prevent a wavy edge.
While you sew…
Don’t back stitch. Just don’t. Sew past the start if you’re sewing in a loop, which most of the time you will be when using a twin needle. Overlapping your stitches helps to secure them.
Note: if you are not sewing in a loop and can’t overlap your stitches, then you can tie your threads together. Leave all the threads long. Pull on the bobbin thread until the needles threads begin to pull to the under side. gently pull on the loops (needle threads), until all three threads are on the wrong side of the fabric and tie them together in a knot.
Use a straight stitch and long stitch length. Sew with the right side of the fabric facing up, and the wrong side of the fabric touching the feed dogs.
Still having trouble?
If your machine is still having trouble, I have heard that you should seed both top threads into the tension disk at the same time, as well as on separate sides of the center divider within the tension disk. This is tricky to do and takes practice. To do this, hold both threads in one hand with a finger keeping them separate and slide them done into tension disk. Use your other hand to guide each thread onto either side of the center divider thing in the tension disk.
Here it is on one of my older machines. When the presser foot is up, the center divider piece is loose and easily moved to either side. It tightens up when the presser foot is lowered (which is why you must have the presser foot lifted whenever threading your machine). Click on the image for a bigger, close-up view.
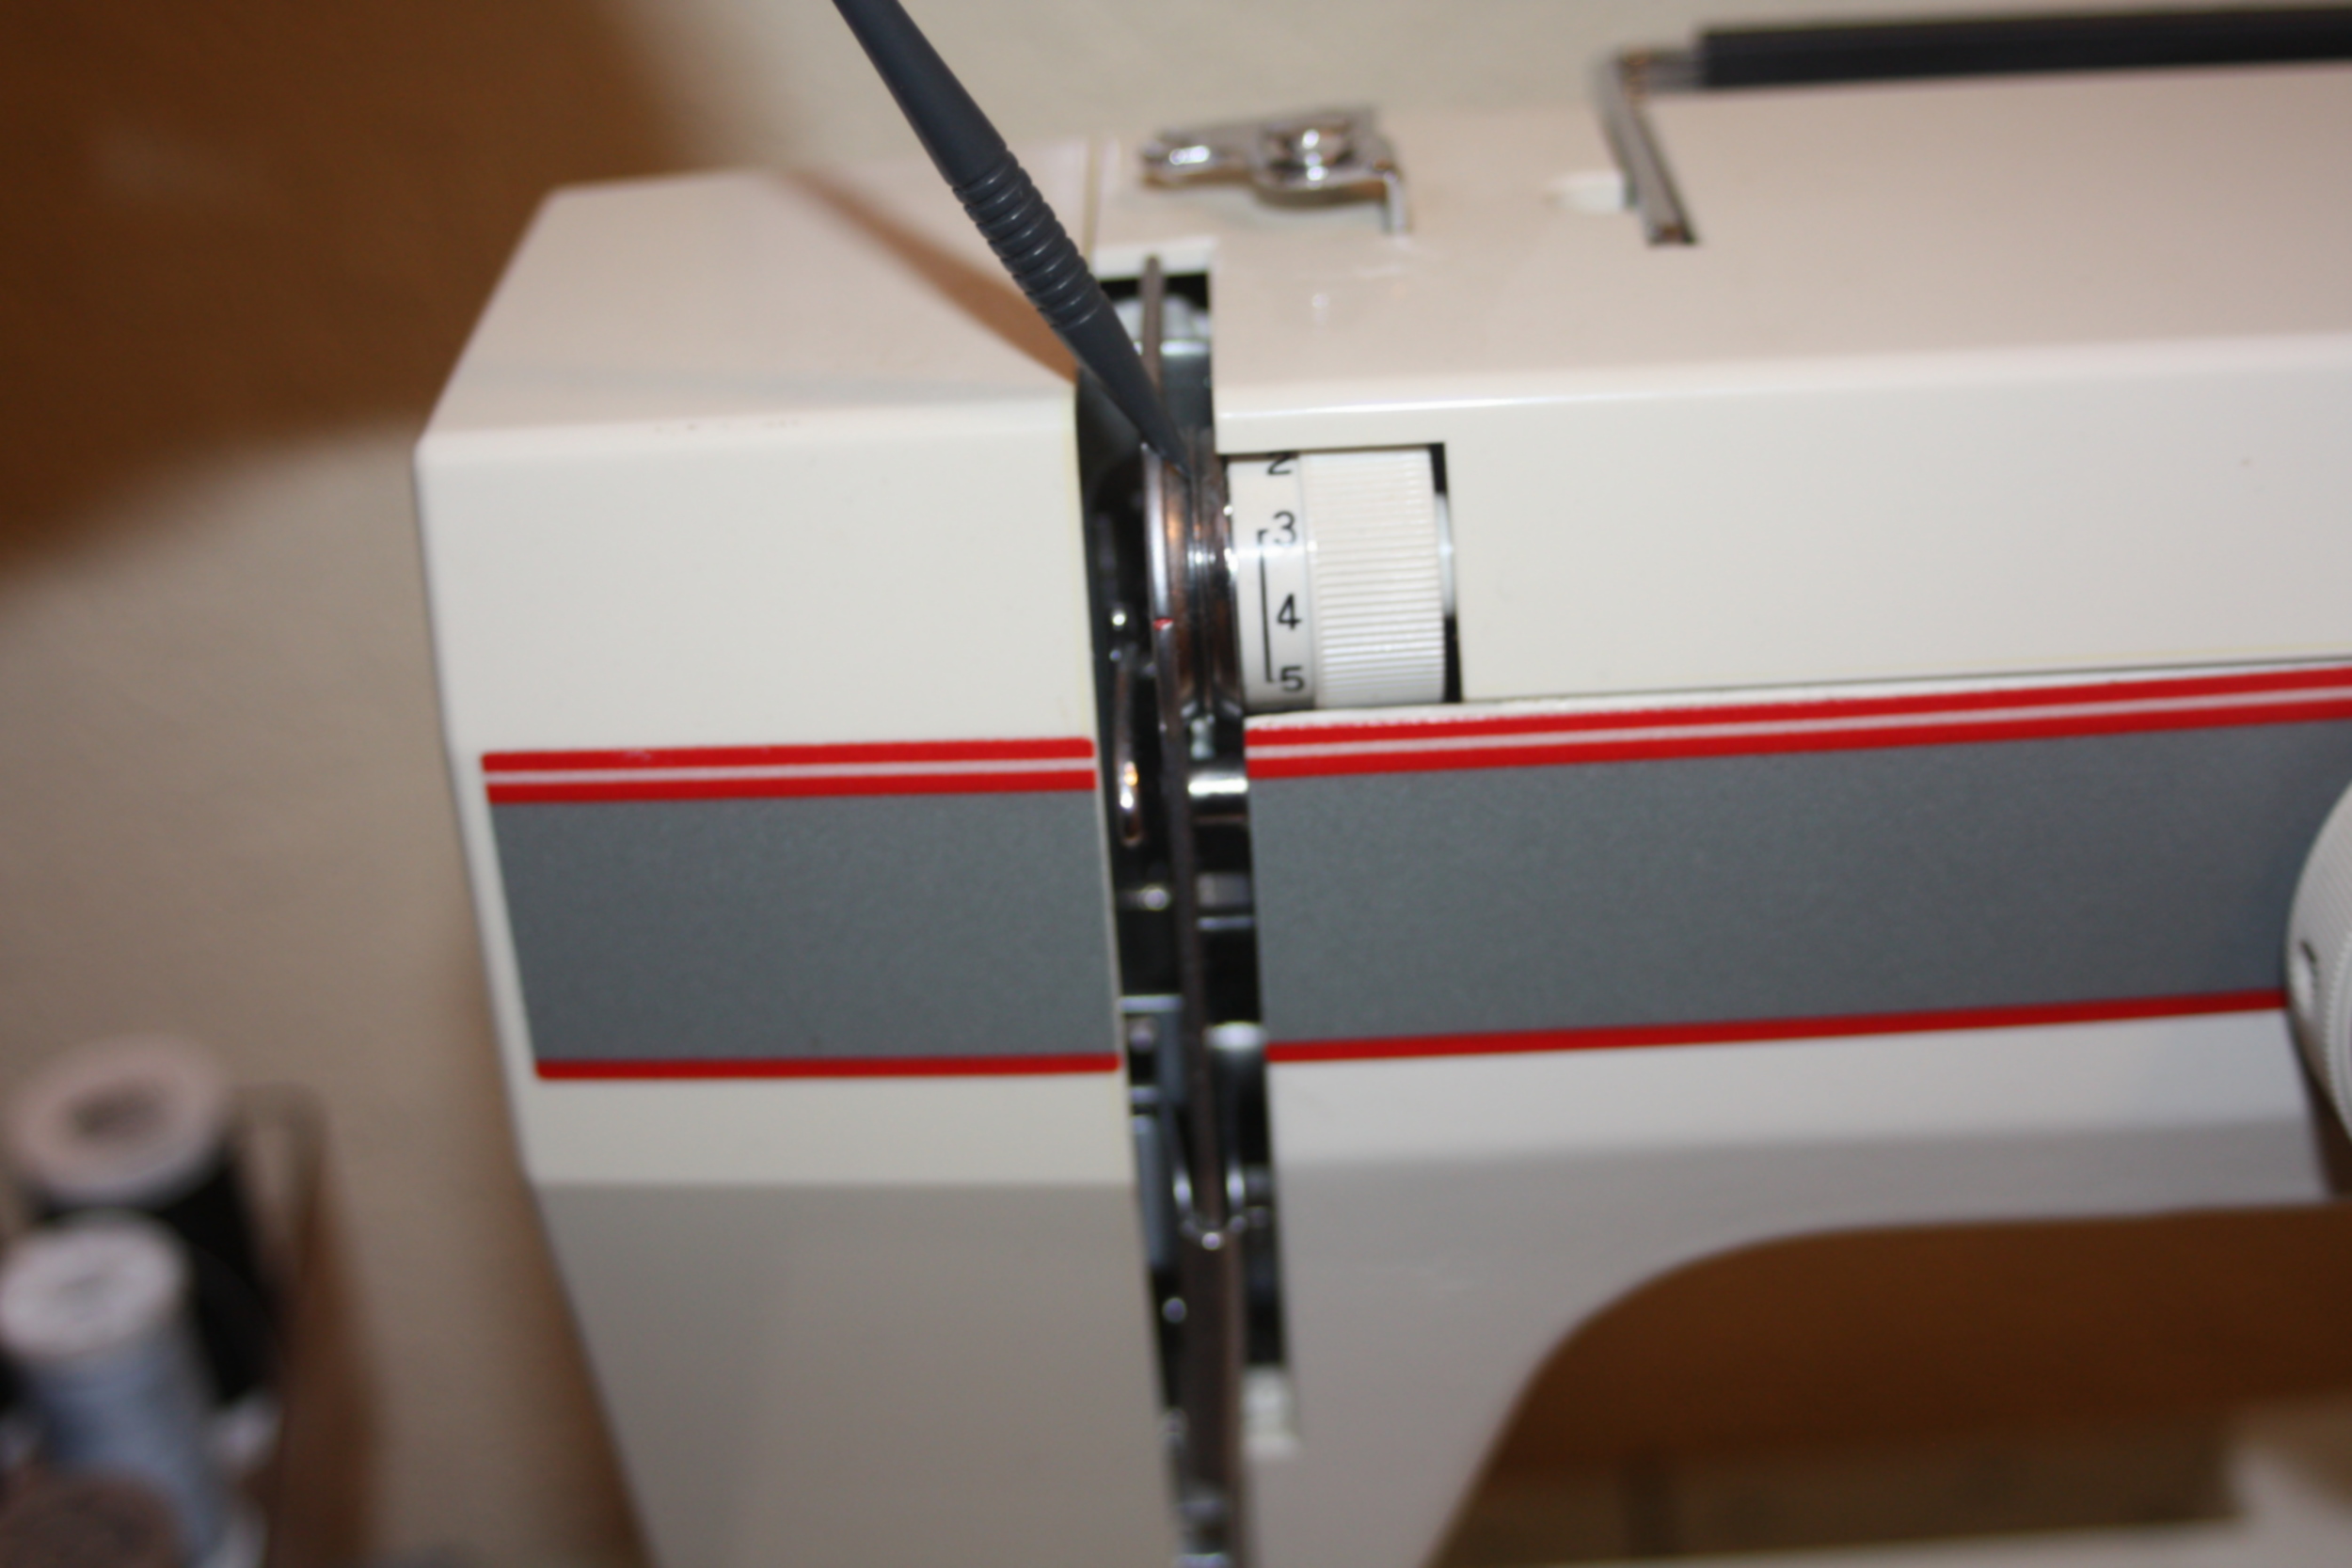
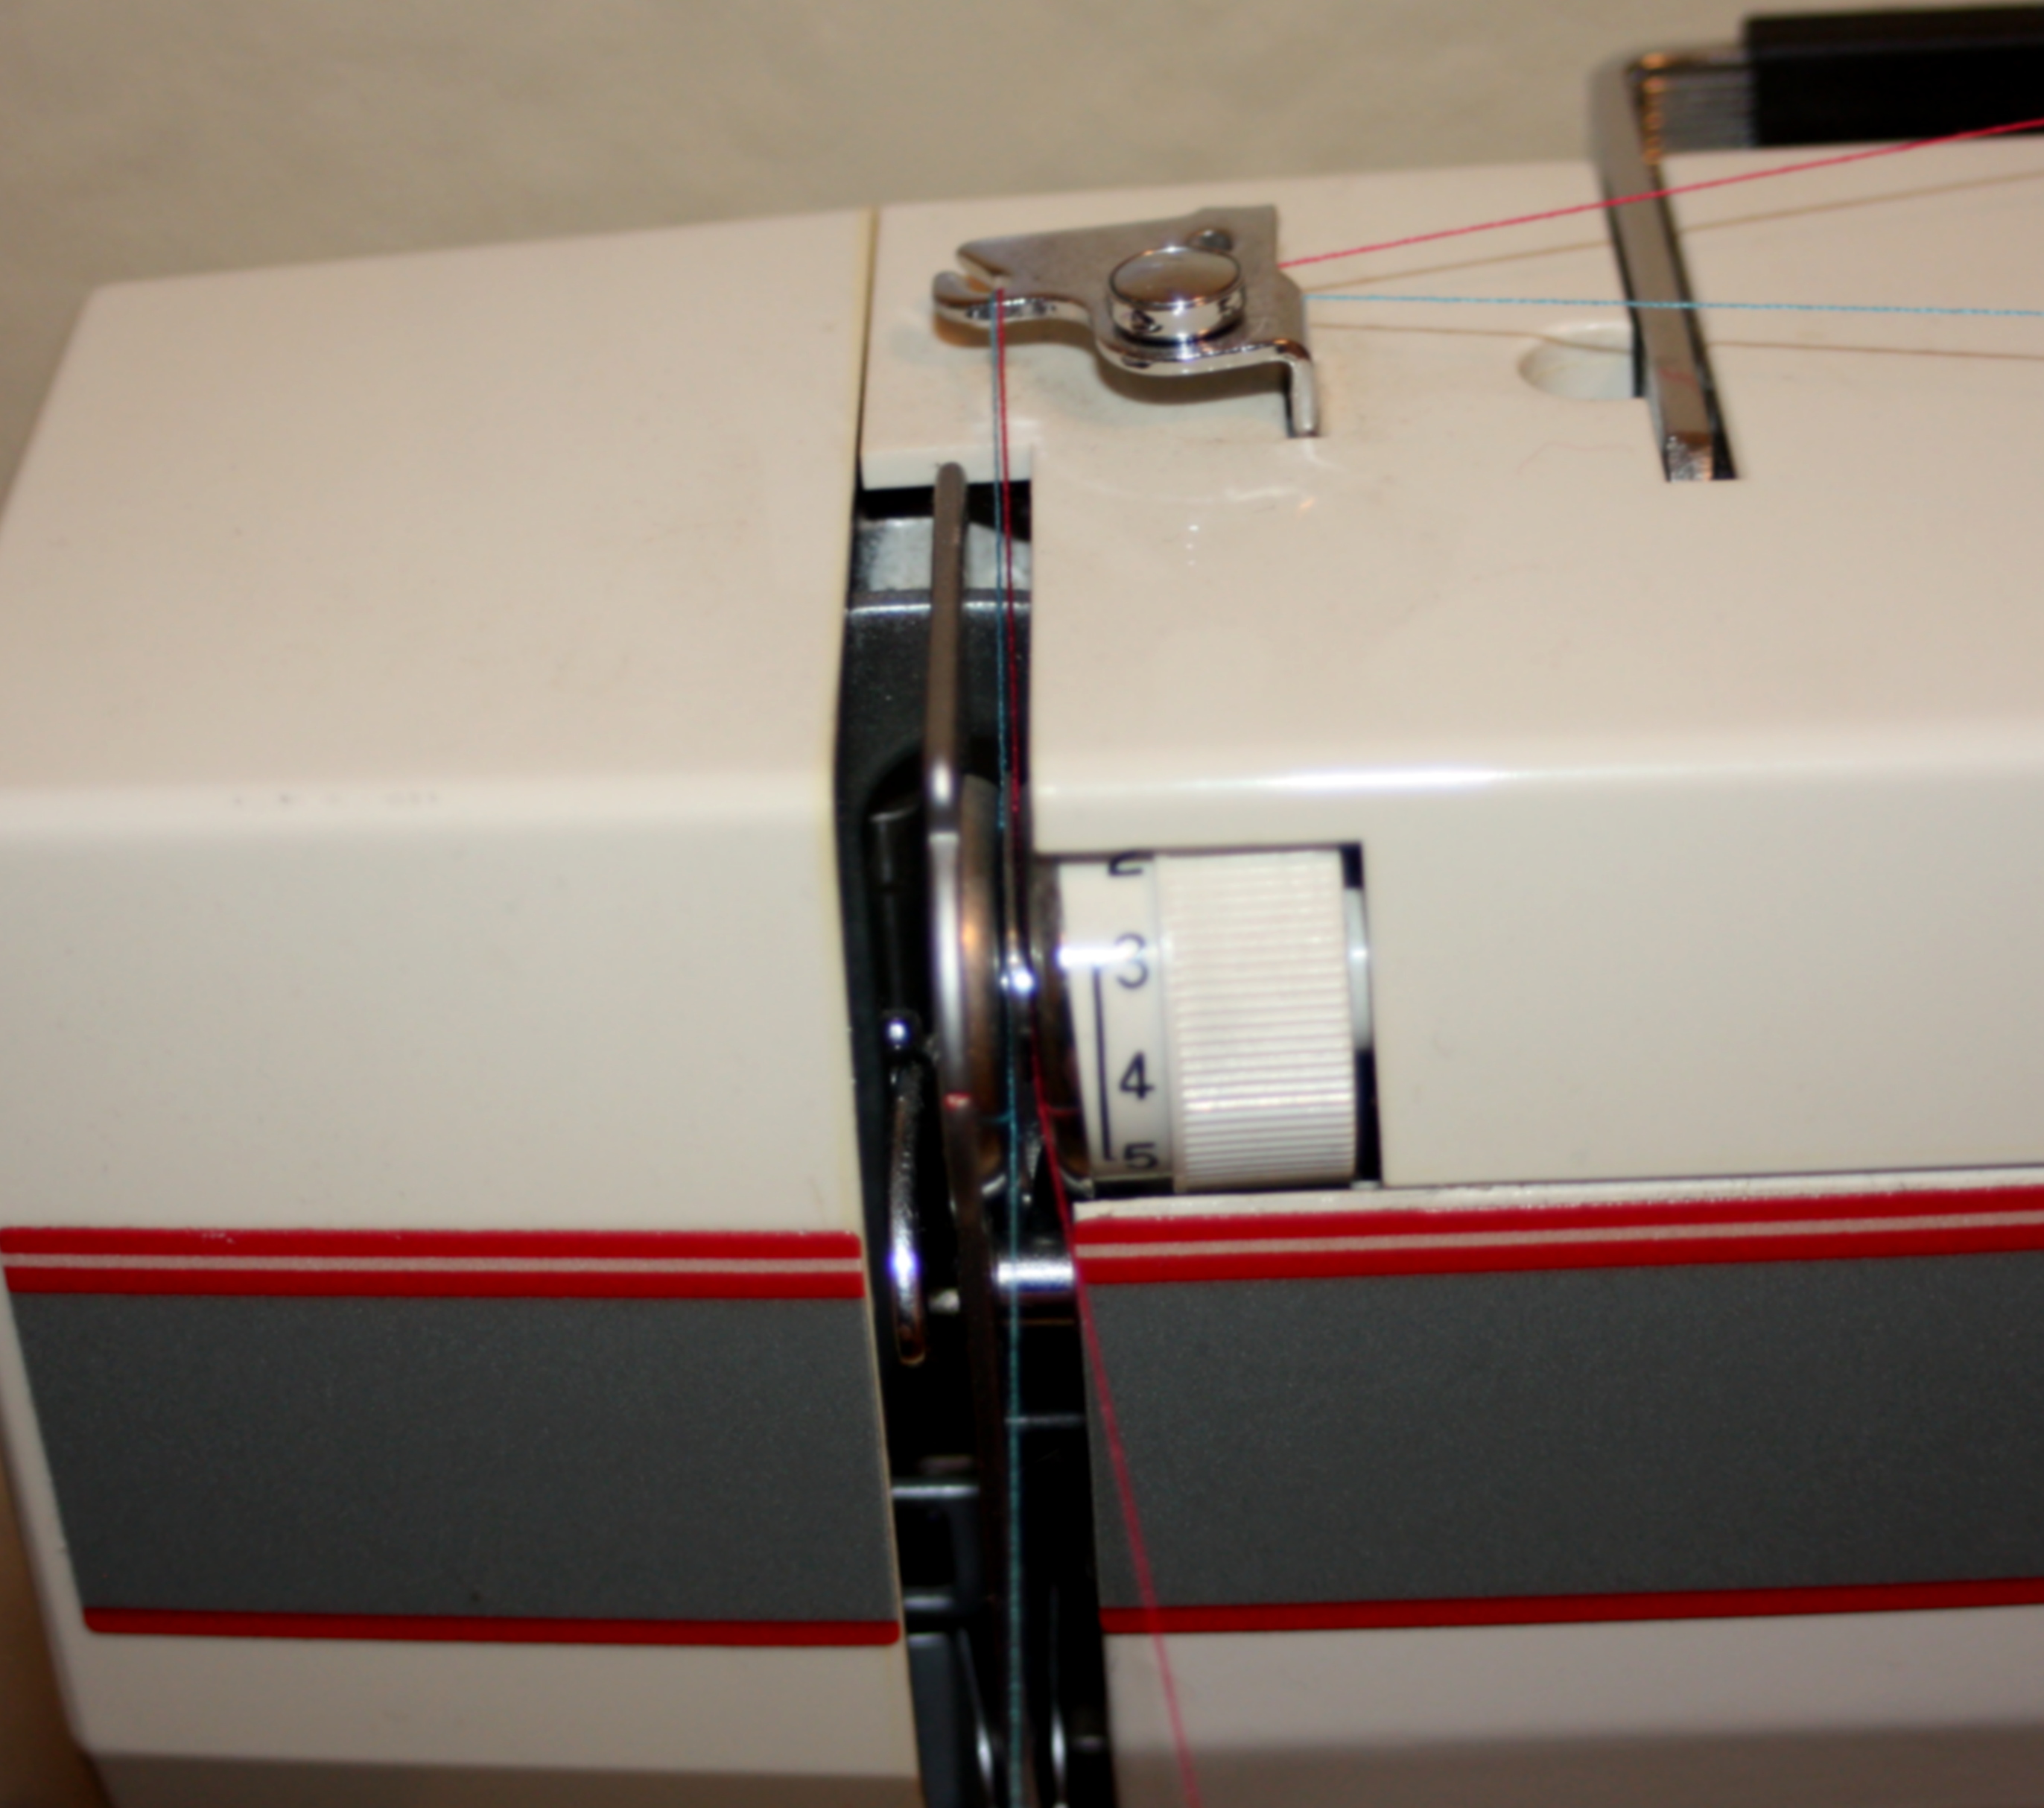
Remember: the presser foot needs to be up while threading your top thread(s), otherwise the thread will not seed properly into the tension disk.
I hope this helps 🙂 Do you have something that works for you? What are some tips you’ve picked up along your sewing journey??