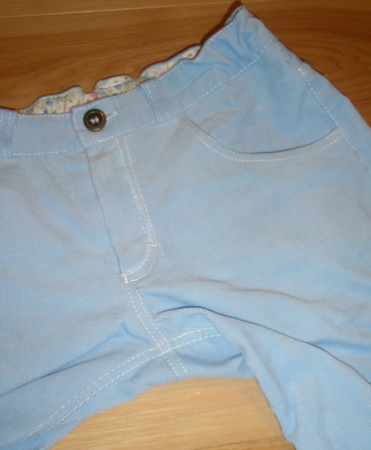
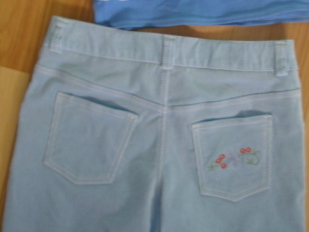
Jeans Sew Along part 3: the waistband

So you’ve got your front and back side sewn together (parts 1 and 2), and you need a waistband to hold ’em on your hips.
Here are the other sew along posts:
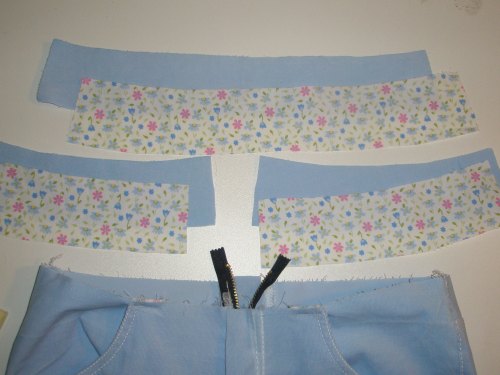
To get started on part three, we need to do a little prep work. Belt loops, and pulling teeth. You may have noticed my metal zipper is a bit too long for my fly and rise of the pants. But you don’t want to just cut it off. You’ll need to remove the zipper teeth, so that you don’t sew over them, breaking a needle for sure. You also don’t cut the teeth out, because then the zipper tape will unravel, leaving you very sad indeed after a few washes.
Removing the teeth allows you to replace the zipper stop at the top. Otherwise you’ll zip right off your zipper and have to search online for a tutorial on replacing a zipper, lol. This tutorial from Threads Magazine is pretty much all you need for what ever type of zipper you need to shorten. They explain it all and very well.
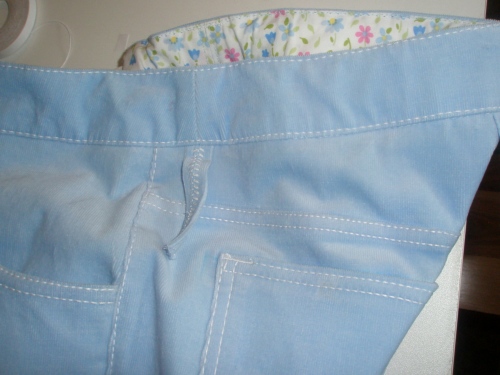
After you remove unwanted or unneeded teeth from your zipper, add a new stop. You can purchase these at sewing supply stores. I paid a whole 3 cents for each of mine. Using needle nosed pliers, I pinched them in place after my waistband was complete. I just have to remember not to zip up my pants until those stops are back in place.
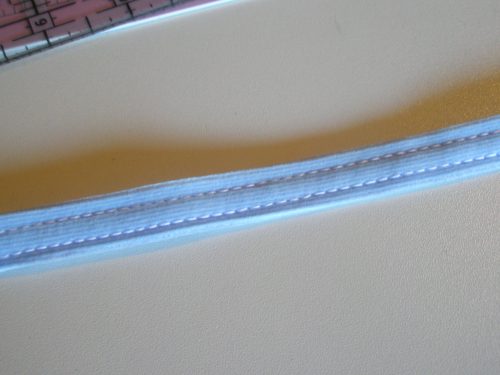
Cut a strip of fabric about 1 1/2 inches wide. fold into thirds and use a twin needle to stitch down the center. If you use a single needle, you need to do something else to finish the raw edges. Maybe sew the strip into a tube and turn it right side out? It’s a lot more work that way…you may want to become more friendly with a twin needle 🙂
Cut your loops into 3 inch pieces, you may want longer, depending on the size jeans you’re sewing. Check before cutting. Mine ended up about 3 inches long. Get the wonder tape and tape them in place, right sides together, along the upper edge of pants. You can baste them if you want. I noticed some store bought jeans do not have the lower edge of the belt loops sewn into waistband. Those are sewn on after construction is complete.
Prepare waistband.
Sew sides of waistband pieces together–right sides together. do the same for lining pieces.
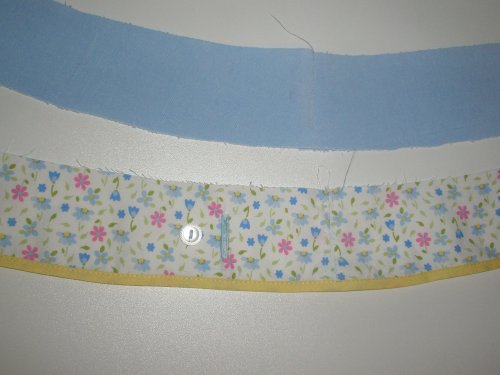
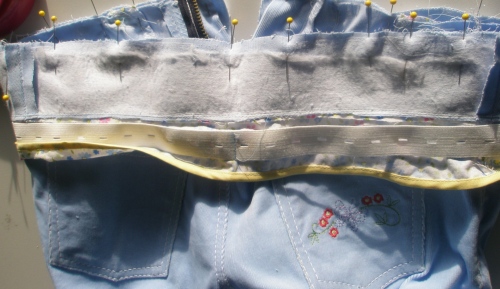
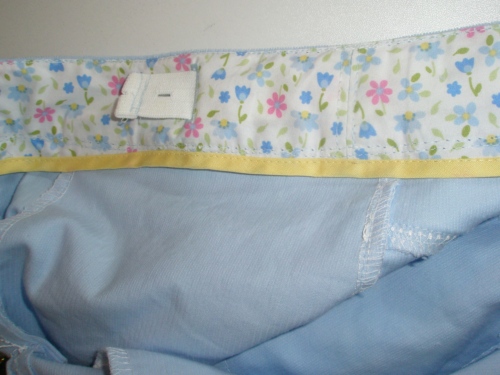
Finish lower edge of waistband as you choose. I finished the lower edge of my waistband lining with bias tape. You can see that I am also adding button hole elastic, so I prepared the lining for that as well.
Sew lining to waistband along upper edge, right sides together. Press seam allowances toward facing. I like to understitch (sew a row of straight stitches along the lining, sewing through the seam allowances, but not the waistband (as shown in pic).
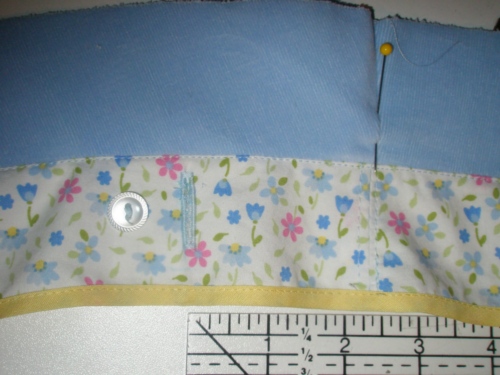
Pin to pants right sides facing. Sew waistband to pants, leaving the lining free. You should follow the markings on your pattern for waistband placement–the waistband should extend slightly past the zipper opening fabric on pants. Press seam allowances up toward waistband.
Now fold waistband and lining together, right sides facing. Note the facing will be inside out, but the right side of lining fabric will be facing the right side of the waistband fabric. Pin the ends together (center front). Sew along the center front edges on the seam allowances. (I don’t have a pic for this–please let me know if anyone wants me to add one.) Trim seam allowances and flip the waistband and lining right side out. Use a corner turning tool to poke corners out. (a wooden knitting needle works also) Press.
Stitch the lower edge of facing to waistband. Best way I think is to stitch in the ditch with matching thread, working with the waistband facing up (right side of garment). If you added elastic, make sure you don’t catch it in your stitches.
Top stitch along the waistband. Remember to gently pound any bulky parts with a nice, light duty hammer.
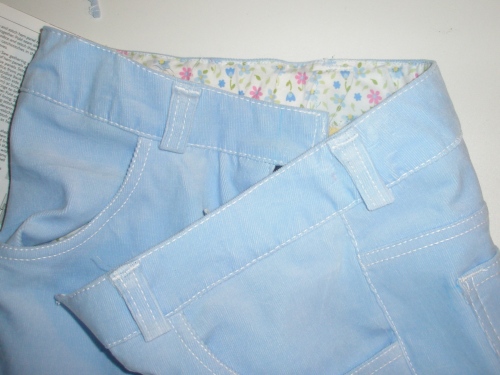
Fold belt loops up, tucking the raw edges under and tack in place. Next time, I may not use the hammer and try to tack the belt loops without it. It flattened them too much, imo. Or I just was hammer crazy 🙂
Make a button hole and add your button along the waistband. To complete your jeans, hem by folding under toward the wrong side of fabric, and straight stitch the hem.
Thanks for sewing along!
