Jeans Part Two and Three Quarters: Sew part 1 and part 2 together, before doing part 3

This is part 2 3/4, as part 3 will come next 🙂 Part 2 3/4 is where you will need to sew parts 1 and 2 together, in order to add part 3 later. Makes perfect sense, huh?
For the complete jeans sew along:
This was also against the Ottobre pattern instructions, but from examining my daughter’s Levi’s, it was perfectly clear how they are constructed, and let’s face it, the whole idea is to have them look store bought, not made by your mommy. Although, mom’s pretty much rockin’ the corduroy jeans.
Remember: heavy duty needle and special top stitching thread for top stitching 🙂
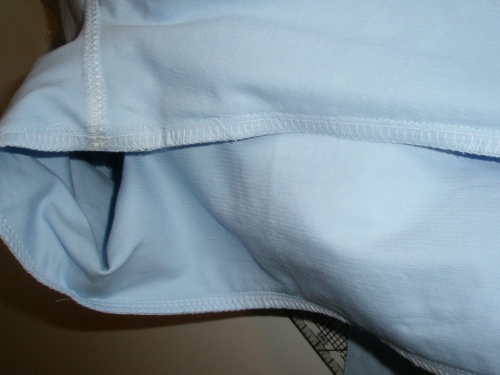
Put the front and back of pants right sides together and pin the inseam together. Sew from one lower edge, over crotch (there’s that nasty word again–sorry I tried not to use it for a while, but I had no choice), to the other lower edge. Finish raw edges. This pic looks so abstract, but trust me this is the picture of the inseam sewn and raw edges finished 🙂
Press seam allowances toward the FRONT. Most garments want you to press toward the back, but jeans have this seam pressed toward the front, so that’s what I did. Top stitch the inseam. Easier said than done. Go slow and smooth it out as you go and it’ll be fine.
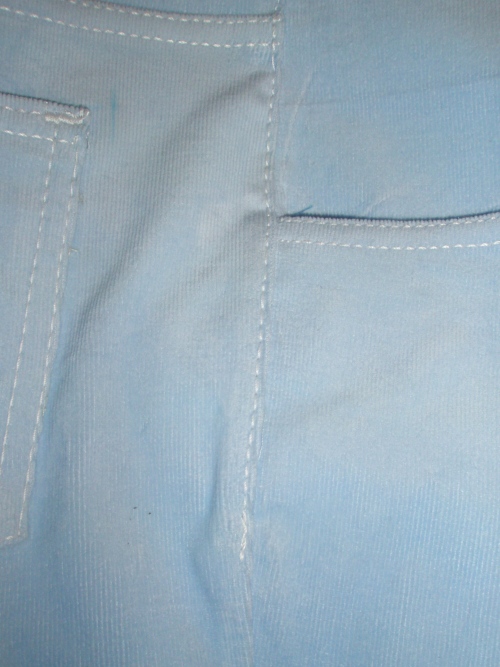
Now place the pants right sides together and pin the side seams. Sew side seams and finish raw edges. Press side seam along the waist/hip area toward back. Top stitch the side with a single row of stitching and stop just below the end of front pocket, as shown. You may want to lightly pound the thick intersections where it’s really bulky with a light duty hammer. This makes sewing over them easier with your machine. When you reach these really bulky sections, you can also place a piece of fabric or jean a ma jig (not sure if that’s what that plastic thing is called) just behind it and under the presser foot, it helps to keep your machine moving and keeps stitches from skipping. Handy pic:
Okay, well here you have it. Part 2 and 3/4, and now parts 1 and 2 can be added to part 3: the waistband.


