How to Make a No-sew Braided Fleece Blanket

This easy to make braided fleece blanket is perfect for a Saturday afternoon project. A good one for kids to do as well! The woven edge looks so clever and tidy. This tutorial will walk you through the simple process.
I want a blanket for my sewing room for my not-so-little Malamute puppy to lay down on, but I suspect the knotted ones will resemble one of her toys. This braided edge will work perfectly.
Materials
1 yard fleece (2)
Scissors
Acrylic ruler or yard stick
Directions
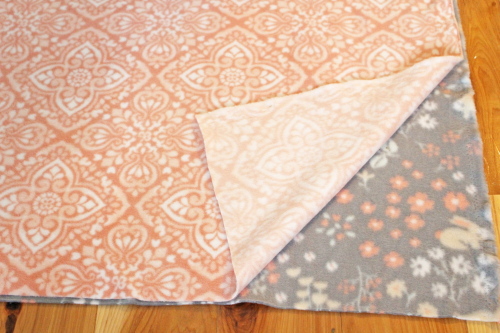
Place the fleece pieces wrong sides together and trim to the desired size.
Cut 2″ squares in the 4 corners.

Place the ruler along the side, 2″ from the edge and cut the fringes on all 4 sides.

If this happens, remove and distract the puppy or work on a table instead of the floor.

Treating the 2 layers of fleece of each fringe as 1 piece, fold each fringe onto itself and cut slits 1/2″ from the edges.

Weave the fringes together by starting in one corner, using the 2 closest to the corner. Take the fringe on the left and feed it through the slit in the fringe on the right.

Pull completely through and move it toward the left. This fringe’s slit is what the next fringe will be woven through.
Take the adjacent fringe on the left and feed it through the slit.


Tip: When threading the fleece through the slit, hold the fleece so that the color you want to show is facing up (the fringe with the slit being threading through) and thread the other fringe through from the underside.
Continue in this way until you have reached the starting point.


When there are no more free fringes, separate the fleece pieces and feed one through the very first slit at the starting point.
Tie the 2 ends together.


Enjoy your new fleece blanket, or allow your puppy to enjoy it 🙂 Lucy loves hers ♥ I think this would be great for dolls, too! Be sure to share your finished projects with me–I’d love to see them!
