Sweater upcycle, from v-neck to cardigan
An upcycle sweater project, just in time for Valentine’s Day. Here is a sewing tutorial to make your very own ruffle cardigan sweater.
 So I had this sweater that fit too tight for my comfort level. Gorgeous silk blend sweater with 3/4 sleeves, but I never wore it because of the way it fit. So there it sat in the donation box. Until my daughter and her good friend were talking about how an open front cardi would be cute. Why, yes it would! And I think I’ve seen tutorials on that. Unfortunately, I couldn’t find the look I was going for on my google search for a tutorial. And I just tried to wing it… and please excuse the horrible pictures. My camera and red are not friends and it shows.
First I found the center front and used tailor’s chalk to make a cutting line.

I added some wonder tape to both sides of the center front line. (Originally, I placed the tape on the right side, but discovered it works best on the wrong side, as you’ll see later.)

 Cut down the center.

I like ruffles and I found a bunch of ready to wear ones on my google search, so I thought I would just gather some cotton knit strips and sew them on. Then I folded it toward the wrong side and tried to stitch it in place. Well, that didn’t work so well. The gathered trim was too thick and bulky in places and it just didn’t look right. It looked very unfortunate. Looking like that, it most likely would never have been invited outside the house.

So I picked all those stitches out with my bff in hand (aka seam ripper). I almost just threw it away, but it was such a soft, high quality sweater. I didn’t want to face the fact that I had ruined it. And so I thought about how else to do it. A way to do it with less bulk. I saw a project on pinterest that did have the style I was going for and gave me reason to hope. You can see Chris’ upcycled sweater on her blog, Pink Picket Fence.
I like how she did it, so I tried again. Using ribbing this time, I cut 1 1/2 inch strips and used my serger, on a rolled hem setting, to make a ruffly-looking lettuce edge. To do this, you gently pull and stretch the fabric as you serge the rolled hem. It makes it go all wavy and ruffly.

I put wonder tape ( a double sided sticky tape that can be sewn over and washes out) on the wrong side of the fabric–all along the center front opening and neckline. Stuck the ruffle in place along the wrong side and folded it over to the front. I pinned it in place for good measure.
 Trimmed off the extra trim, leaving about an inch to tuck under for a clean finish. Be sure to click on images to make them larger if you want a better look at the details.

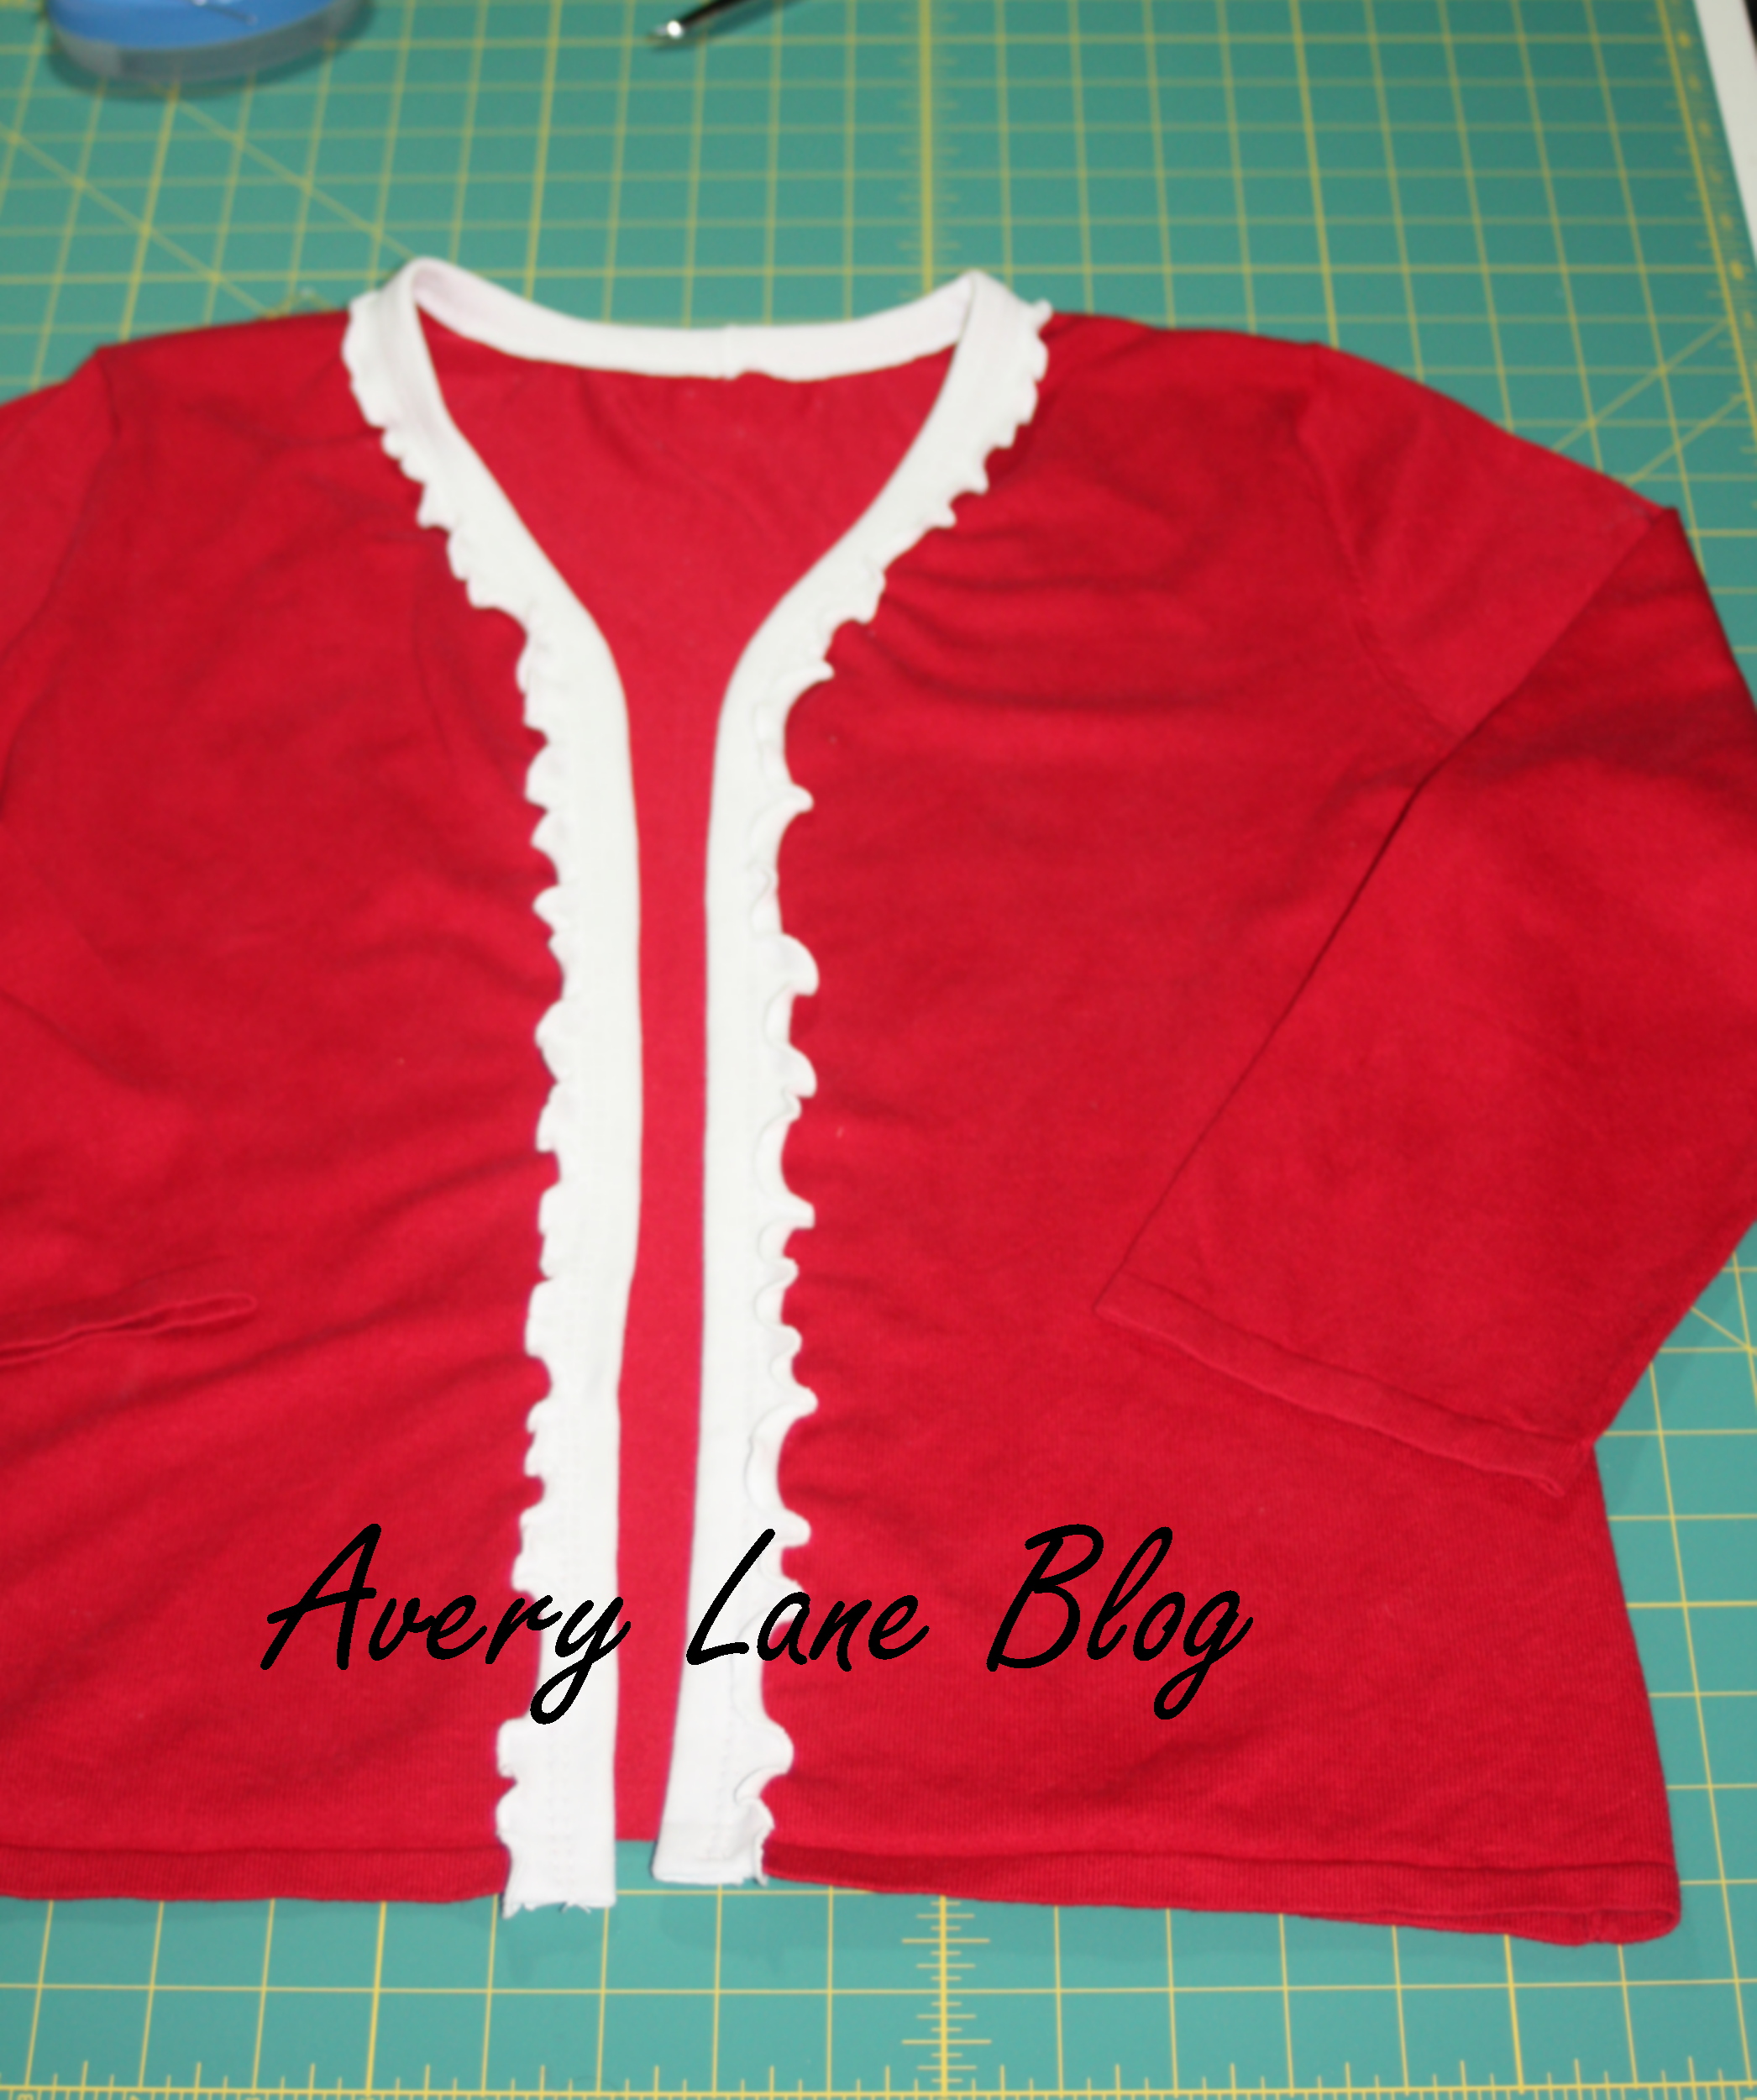
 I sewed the ruffle trim in place using a twin needle, which will allow it to stretch and not break the threads. Since I couldn’t backstitch, I pulled all the threads to the inside of the sweater and tied them together in a knot, to secure them.
If you are not using a twin needle, make sure you use a stretch or ball point needle and a zigzag stitch to sew the trim onto the sweater.

And there you have it, my little, open front Cardi, a v-neck sweater re-purposed.


Hope you enjoyed the tutorial!