How to Draft a Swim Skirt Cover Up

Sew a swim skirt in a half hour? When people say, “Oh, that project takes a half hour,” I never believe them. Well, because it usually takes me longer. Maybe if I made several, the time would be shortened. For that reason, I always hesitate to tell people how long the projects should take. It’s so relative to the sewist. Having said that, this project will take so little time it’s ridiculous. –about a half hour, I think. Even drafting the pattern is super quick.

This style is also easy fitting. Here’s how you could draft your own pattern if you don’t have one.
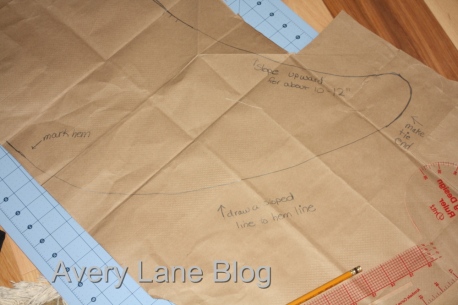
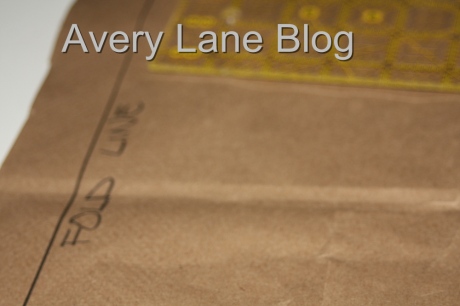
Start by drawing a fold line on one end of the paper or tracing paper.
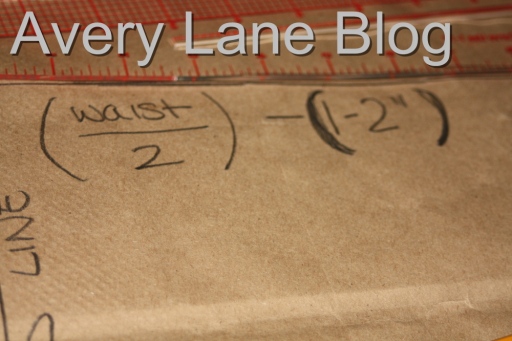
Measure the person’s hip or waist (the place where the top of the wrap skirt will sit). Divide in half and Subtract 1 to 2 inches for negative ease. This is what this skirt has, but I will make this again when my fabric arrives next week and draft it a bit wider to see if it covers more.
Draw the waist cutting line: so my daughter’s waist is 26 and I drew a very slight curved line for 10+ inches. (which is essentially 26/2=13; 13-2=11).
The line then begins to slope up fairly sharply- draw the line upward for another 10 inches or so, using a french curve to draw and measure– though it’s not very curved.
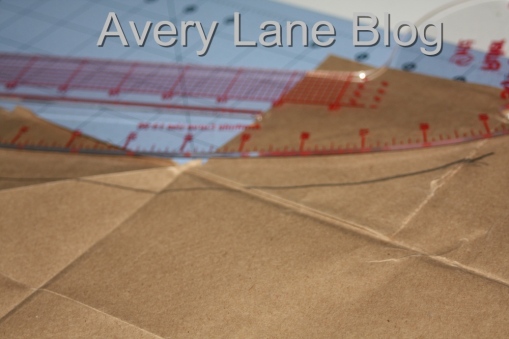
The next line a draw is the tie ends, rounding the end and sloping away gradually from the top slope line of the waist edge.
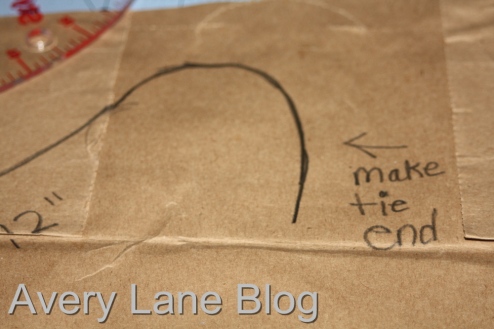
Before you slope all the way down, mark how long you want the skirt to be and angle the line to meet that length. It should reach that length right below where the top line began its slope upward.
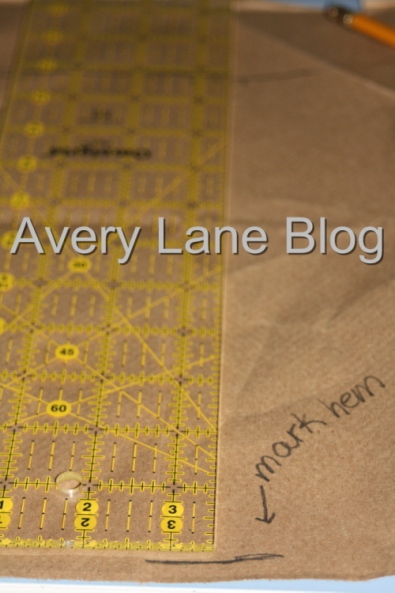
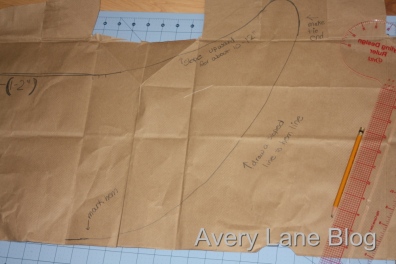
Draw the rest of the bottom edge cutting line, slightly rounded. Again a french curve ruler is your friend here.
Use this pattern to cut out your fabric. Remember to place the fold line on the pattern along the fold of the fabric, and so the greatest amount of stretch will be the width of the skirt.
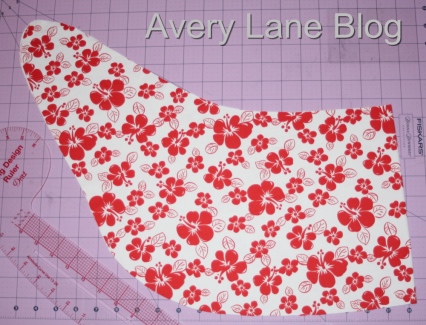
There are many ways to finish the skirt: rolled hem using the serger and wooly thread in the loopers, a lettuce edge using the serger, twin needle, or a zigzag stitch on a regular sewing machine.
Here’s how I did it. I serged the raw edges.
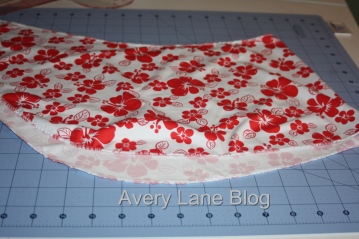
I folded the edges over toward the wrong side of the fabric and used a zigzag stitch–mainly because it matched the way I finished the matching swimsuit.
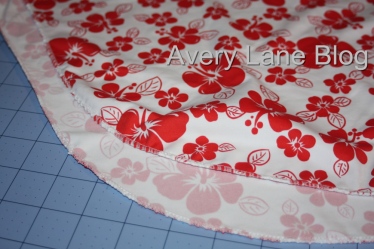
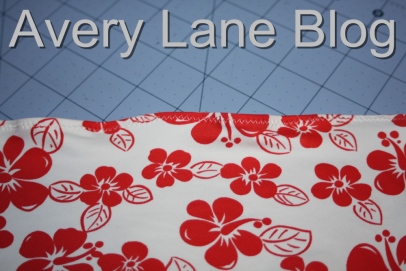
The end 😉

She’s liking it very much. I’m thinking I should have made it a bit longer (she chose the length) and perhaps just a tad wider. I hope you enjoy the tutorial and make some fun and easy cover ups to wear out in the sun 🙂
