Summer Romper Sewing Tutorial

Rompers for girls are available everywhere! Since they are so easy to make, I thought I’d make my daughter several. The first one has a spaghetti strap top and uses woven fabric.

I began with 2 patterns designed for woven fabrics: Kwik Sew 1317 (I think it’s from the 80’s) and Burda 9490, then morphed them to become one. A pillowcase dress style pattern would also work well for the top. I used the button down front top, because I wanted a classic oxford look to go with the seersucker striped fabric. I also wanted it to be a bit more fitted, but still easy for my daughter to put on and take off herself.
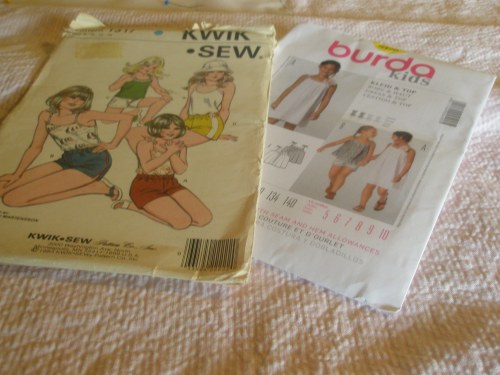
The pattern for the top part may need to be modified before it will work for this project. Use the shorts pattern pieces to estimate how wide the top can be. Place the shorts pattern pieces to their corresponding top pieces (ie. front shorts to front top) and adjust the width of the top to match the shorts. The Kwik Sew pattern is a more fitted shorts, so I made the top more narrow, removing width from the center front and the center back.
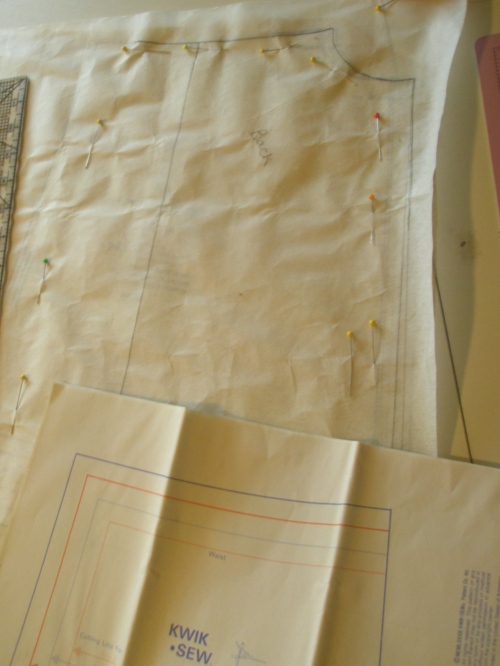
Now cut out all pattern pieces for the shorts and work through them according the pattern instructions, but do not finish the waist.

Pin your top pattern pieces to your fabric. Fold your shorts in half, so that you can double check that your widths match up. Adjust pattern again if needed.
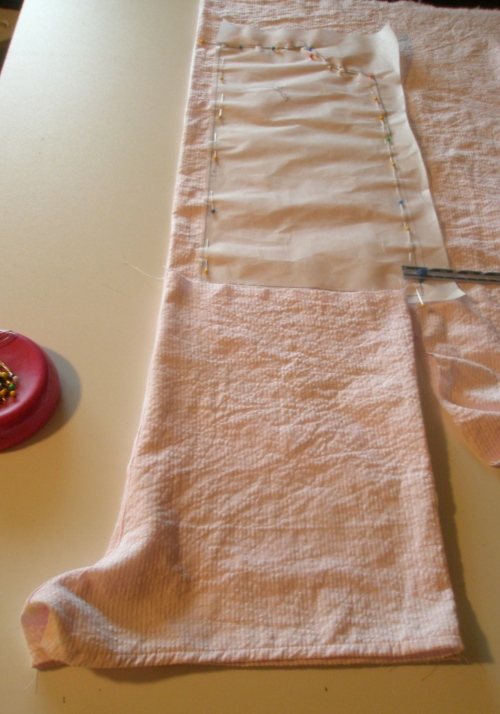
Cut pattern pieces out of fabric and work through the top pattern, but leave it unhemmed.
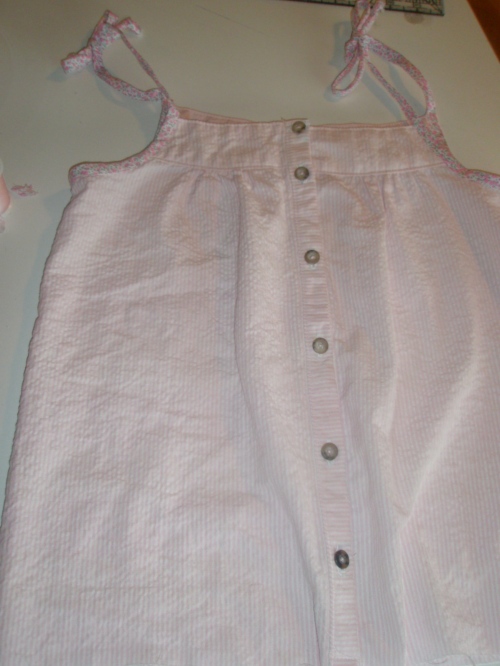
Again, check the widths. As you can see, my top was still a bit wider than the top edge of my shorts. You can either mark the difference and sew the top narrower, or add a bit of gathering (easing really). I chose to add gathering stitches along the center front and back at the hemline of the shirt, and gather it slightly to fit the shorts.
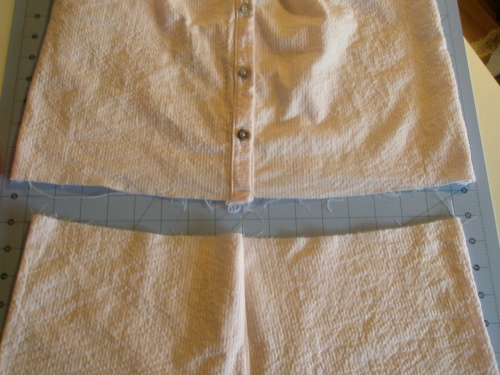

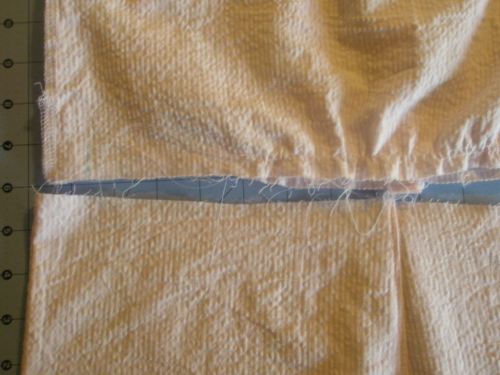
Place the shorts inside the top, right sides together, matching side seams, and having the shorts sticking out about an inch. Pin in place and sew together.
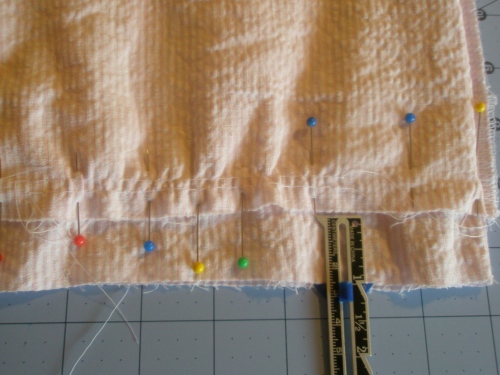

Fold the raw edge of the shorts over 1/4 inch and press in place. Open up shorts and top and press the shorts waist up toward top. Sew close to the folded edge to form a casing for the elastic. Make sure to leave an opening through which to insert elastic. Measure child’s waist or use recommended amount stated in your pattern. Attach a safety pin to one end of the elastic and feed elastic into casing, working it through until it comes out the other end of the opening. Sew ends of elastic together. stitch the opening closed. Trim all threads.
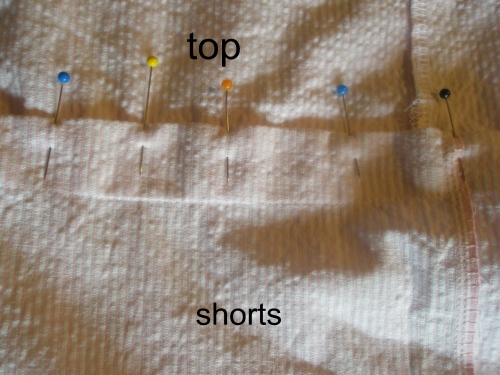
Your romper is all done 🙂


Hope you enjoy this tutorial! Let me know if you’ve used it to create a summer outfit for someone–I’d love to hear how it turned out 🙂